Todd's Guide to Creating Video Tutorials
Part 9: Editing your audio
So at this point, you’re going to want to put together your audio. This will serve as the “master track” that you’ll edit your screencast portion to in the next step.
I use Descript for editing all of my voiceover bits, and I highly recommend it as a tool for editing all your voiceover. If you used Descript for recording your audio, it should be in a project already. Otherwise, you can import your recorded segments into Descript for editing.
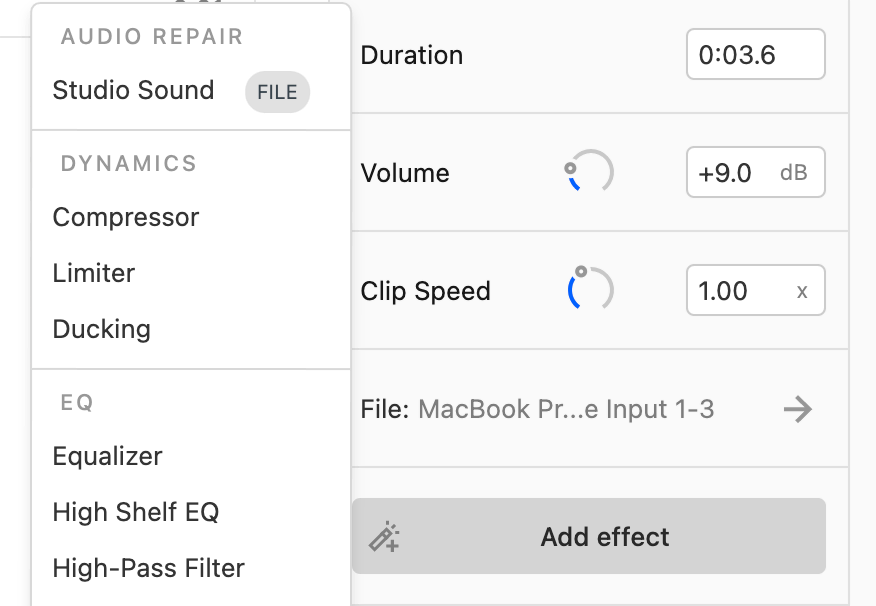
- First, turn on Studio Sound. This is the main reason I use Descript — it will remove nearly all of the unwanted reverb, background noise, and breathing. It’s great.
- You can do this by clicking “Add effect” in the Audio clip panel on the right.
- Compare this audio, where I spent an hour in Premiere tweaking it by hand to this audio, which was done in a couple of minutes with Studio Sound
- You can tweak how strongly Descript applies the Studio Sound effect. I generally like a Studio Sound level of about 85%, with something slightly lower (like 80%) for my on-camera bits. Don’t go too high, or it’ll start to sound a bit unnatural and overprocessed.
- Next, turn on transcription for your audio tracks. Descript will use some ML-powered technology to convert your audio into written words that you can see on screen. It does a pretty good job, but it’s not perfect.
- Descript allows you to transcribe up to 2 hours of audio for free, which should last you for several videos.
- I don’t actually use this transcribed text for my video captions or anything. The point of adding transcriptions is that it makes it really easy to edit out sections of your original sound file — places where you stopped mid-sentence to re-read the paragraph over from the beginning. That sort of thing.
- So, go through your audio portion and edit out all your mistakes and retakes. Again, if you’re using the transcribed files, this should be as easy as editing a Google doc. Just select the words you want to remove and delete them.
- To remove long pauses, you’ll probably need to edit those in the timeline at the bottom. You can use the Blade tool to slide an audio clip into two, then drag the edge of the clip until the pause is the length you want.

- Descript also has a “find and shorten all pauses” feature, but I generally prefer editing them by hand, since sometimes you’ll want to leave long pauses in there.
- You might also want to remove some of the more egregious examples of filler words. (“Um”, “y’know”, etc.)
- Descript has a “find all filler words” feature that will also let you find filler words, which you can edit out.
- It comes with a “Automatically remove all filler words” option that, last time I tried it wasn’t very good.
- Also, honestly, it’s not the worst thing in the world if you have an occasional “um” or “er” in your audio track. It makes you sound human!
- Be careful about editing out filler words in any on-camera work. That’s going to require adding a corresponding cut in your video, so they’re usually not worth taking out.
Exporting your audio
When you have an audio track that sounds the way you want the final video to sound, you’re ready to export!
- In Descript, select “File -> Export”. Make sure the “Export” tab at the top is selected, then select Audio from the list of options.

- Export your audio as a .wav file, 2 channels, 44100 sample rate.
- I’ve been going with -16 LUFS as my normalized volume, but I think that’s too loud, so maybe try -18.

Once your audio has been exported, you’re ready to start editing your screencast to match up with your audio track. On to the next step!